> ## Documentation Index
> Fetch the complete documentation index at: https://docs.openlit.io/llms.txt
> Use this file to discover all available pages before exploring further.
# Prometheus + Tempo
> LLM Observability with Prometheus and Grafana Tempo using OpenLIT
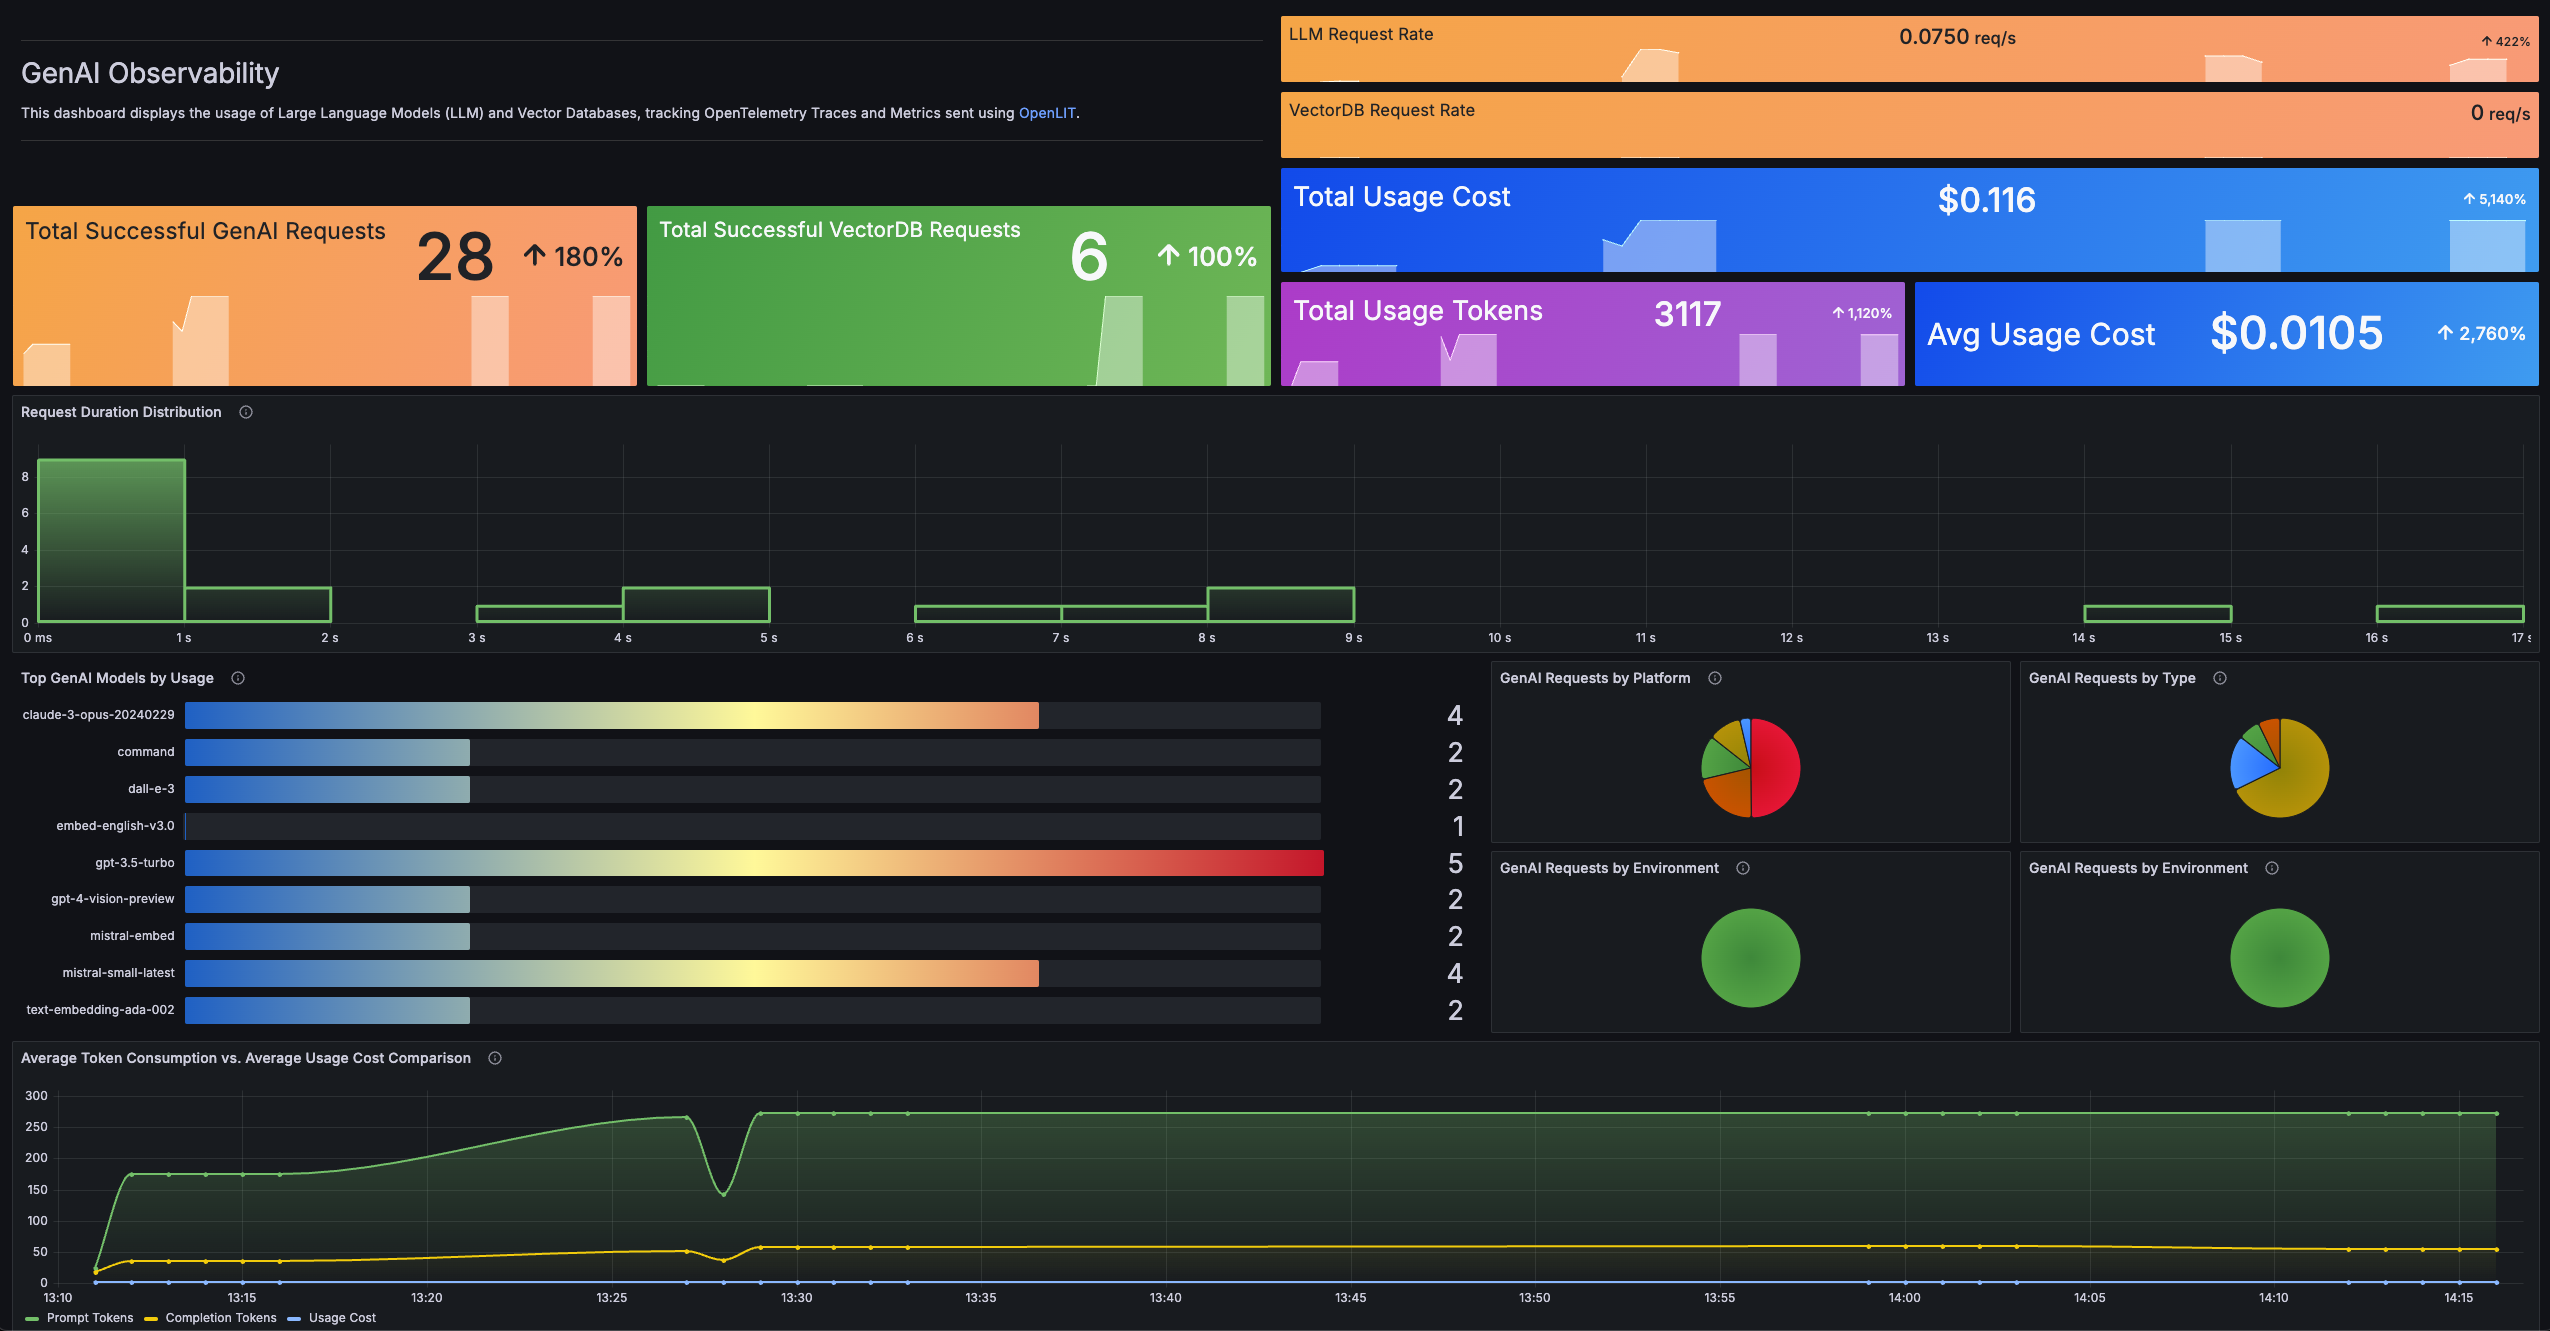
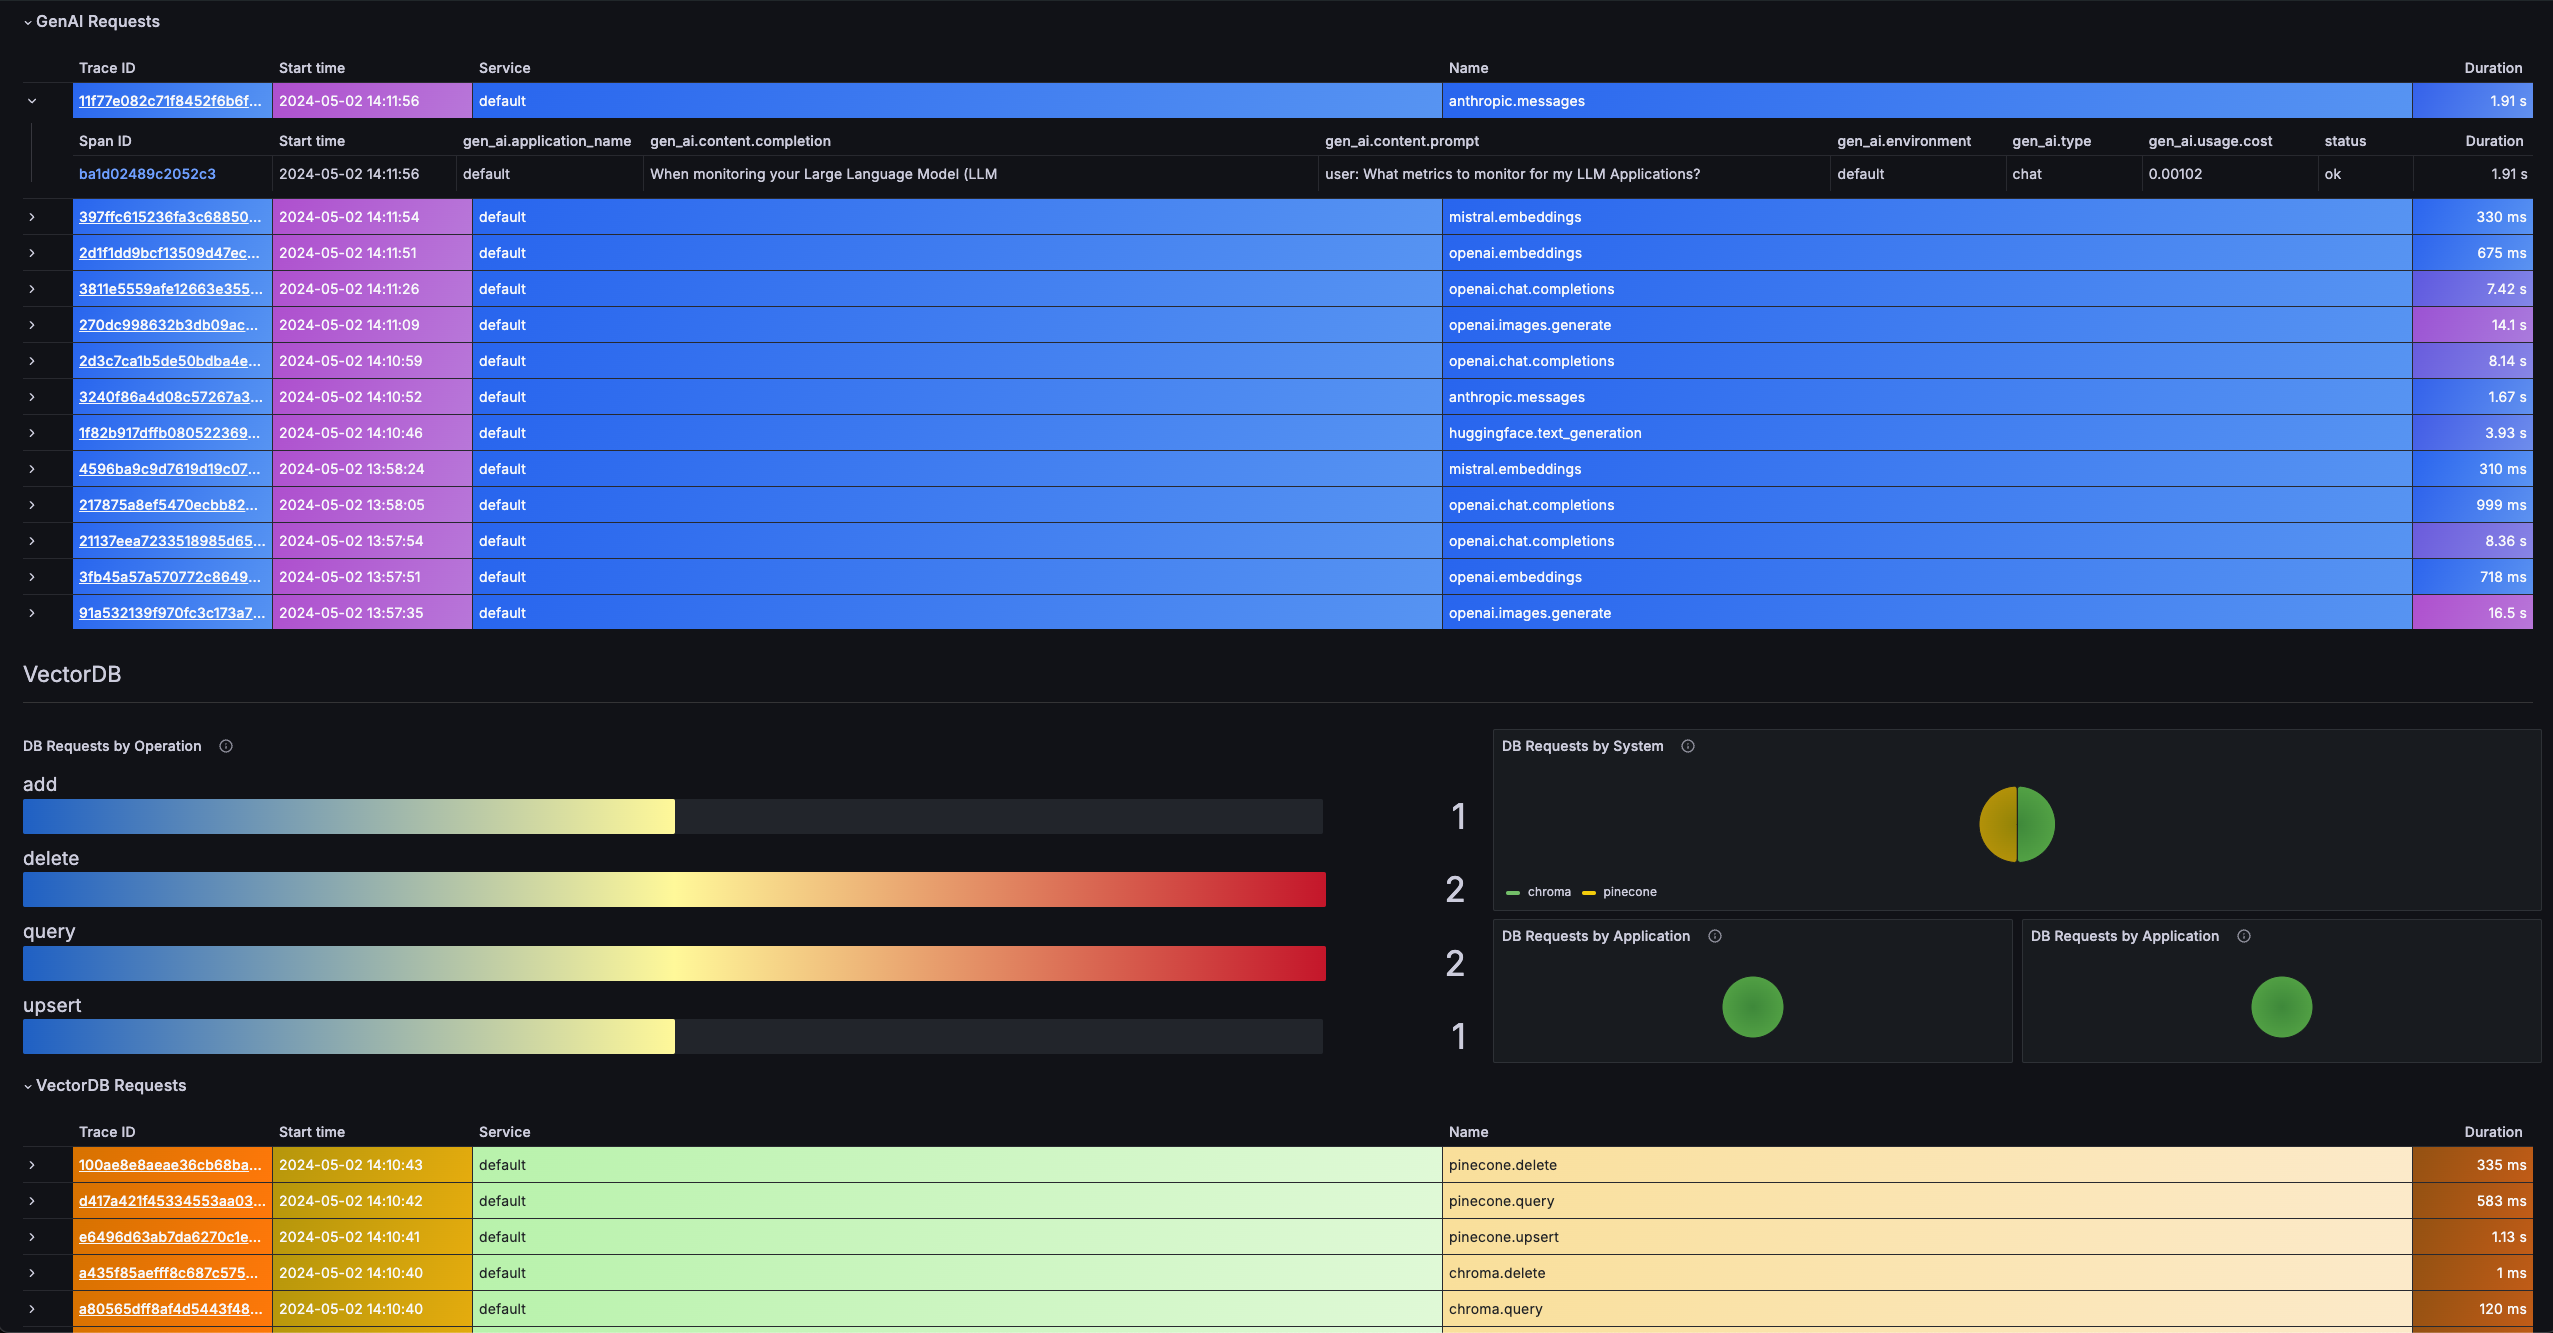 To send OpenTelemetry metrics and traces generated by OpenLIT from your AI Application to Prometheus and Grafana Tempo, follow the below steps.
### 1. Configure OpenTelemetry Collector
Prometheus + Tempo requires an OpenTelemetry Collector to route metrics to Prometheus and traces to Tempo.
**Install OpenTelemetry Collector (if not already running)**
For detailed installation instructions, refer to the [OpenTelemetry Collector Documentation](https://opentelemetry.io/docs/collector/installation/).
**Configure the Collector**
1. **Configure OTLP Receiver**: Set up receiver on `0.0.0.0:4318` for HTTP and `0.0.0.0:4317` for gRPC.
2. **Define Exporters**:
* `prometheusremotewrite` for metrics → Prometheus
* `otlp` for traces → Tempo
3. **Assign to Pipelines**: Route metrics and traces to appropriate backends.
```yaml theme={null}
receivers:
otlp:
protocols:
grpc:
endpoint: 0.0.0.0:4317
http:
endpoint: 0.0.0.0:4318
processors:
batch:
memory_limiter:
# 80% of maximum memory up to 2G
limit_mib: 1500
# 25% of limit up to 2G
spike_limit_mib: 512
check_interval: 5s
exporters:
prometheusremotewrite:
endpoint: "YOUR_PROMETHEUS_REMOTE_WRITE_URL"
add_metric_suffixes: false
otlp:
endpoint: "YOUR_TEMPO_URL"
service:
pipelines:
traces:
receivers: [ otlp ]
processors: [ memory_limiter, batch ]
exporters: [ otlp ]
metrics:
receivers: [ otlp ]
processors: [ memory_limiter, batch ]
exporters: [ prometheusremotewrite ]
```
Replace:
1. `YOUR_PROMETHEUS_REMOTE_WRITE_URL` with your Prometheus remote write endpoint.
* Example: `https://prometheus.grafana.net/api/prom/push`
2. `YOUR_TEMPO_URL` with your Tempo endpoint.
* Example: `tempo.grafana.net:443`
### 2. Instrument your application
**For direct integration into your Python applications:**
```python theme={null}
import openlit
openlit.init(
otlp_endpoint="YOUR_OTELCOL_URL:4318"
)
```
Replace:
1. `YOUR_OTELCOL_URL:4318` with the HTTP endpoint of your OpenTelemetry Collector.
* Example: `http://127.0.0.1:4318` (for local collector)
* Example: `http://otel-collector.monitoring.svc.cluster.local:4318` (for Kubernetes)
```python theme={null}
import openlit
openlit.init()
```
Set these environment variables:
```shell theme={null}
export OTEL_EXPORTER_OTLP_ENDPOINT="YOUR_OTELCOL_URL:4318"
```
Replace:
1. `YOUR_OTELCOL_URL:4318` with the HTTP endpoint of your OpenTelemetry Collector.
* Example: `http://127.0.0.1:4318` (for local collector)
* Example: `http://otel-collector.monitoring.svc.cluster.local:4318` (for Kubernetes)
Refer to the OpenLIT [Python SDK repository](https://github.com/openlit/openlit/tree/main/sdk/python) for more advanced configurations and use cases.
**For zero-code auto-instrumentation via command line:**
```shell theme={null}
# Using CLI arguments
openlit-instrument \
--otlp-endpoint "YOUR_OTELCOL_URL:4318" \
--service-name "my-ai-service" \
--deployment-environment "production" \
python app.py
```
Replace:
1. `YOUR_OTELCOL_URL:4318` with the HTTP endpoint of your OpenTelemetry Collector.
* Example: `http://127.0.0.1:4318` (for local collector)
* Example: `http://otel-collector.monitoring.svc.cluster.local:4318` (for Kubernetes)
```shell theme={null}
# Set environment variables (takes precedence over CLI args)
export OTEL_EXPORTER_OTLP_ENDPOINT="YOUR_OTELCOL_URL:4318"
export OTEL_SERVICE_NAME="my-ai-service"
export OTEL_DEPLOYMENT_ENVIRONMENT="production"
# Run your application
openlit-instrument python app.py
```
Replace:
1. `YOUR_OTELCOL_URL:4318` with the HTTP endpoint of your OpenTelemetry Collector.
* Example: `http://127.0.0.1:4318` (for local collector)
* Example: `http://otel-collector.monitoring.svc.cluster.local:4318` (for Kubernetes)
Refer to the OpenLIT [Python SDK repository](https://github.com/openlit/openlit/tree/main/sdk/python) for more advanced configurations and use cases.
### 3. Import the pre-built Dashboard
1. **Log into your Grafana Instance**. To install Grafana, refer to the [Official documentation](https://grafana.com/docs/grafana/latest/#installing-grafana).
2. **Add Data Sources**: Make sure Prometheus and Tempo are added as data sources in Grafana. To add a new data source, follow the steps in the [Official documentation](https://grafana.com/docs/grafana/latest/datasources/#add-a-data-source).
3. Click **Dashboards** in the primary menu.
4. Click **New** and select **Import** in the drop-down menu.
5. Copy the dashboard JSONs provided in the [offical Grafana AI Observability repository](https://github.com/grafana/grafana-aio11y-app/tree/main/mixin/genai-mixin/dashboards)
6. Paste the dashboard JSONs one by one directly into the text area.
7. Click **Import**.
8. Save the dashboard.
To send OpenTelemetry metrics and traces generated by OpenLIT from your AI Application to Prometheus and Grafana Tempo, follow the below steps.
### 1. Configure OpenTelemetry Collector
Prometheus + Tempo requires an OpenTelemetry Collector to route metrics to Prometheus and traces to Tempo.
**Install OpenTelemetry Collector (if not already running)**
For detailed installation instructions, refer to the [OpenTelemetry Collector Documentation](https://opentelemetry.io/docs/collector/installation/).
**Configure the Collector**
1. **Configure OTLP Receiver**: Set up receiver on `0.0.0.0:4318` for HTTP and `0.0.0.0:4317` for gRPC.
2. **Define Exporters**:
* `prometheusremotewrite` for metrics → Prometheus
* `otlp` for traces → Tempo
3. **Assign to Pipelines**: Route metrics and traces to appropriate backends.
```yaml theme={null}
receivers:
otlp:
protocols:
grpc:
endpoint: 0.0.0.0:4317
http:
endpoint: 0.0.0.0:4318
processors:
batch:
memory_limiter:
# 80% of maximum memory up to 2G
limit_mib: 1500
# 25% of limit up to 2G
spike_limit_mib: 512
check_interval: 5s
exporters:
prometheusremotewrite:
endpoint: "YOUR_PROMETHEUS_REMOTE_WRITE_URL"
add_metric_suffixes: false
otlp:
endpoint: "YOUR_TEMPO_URL"
service:
pipelines:
traces:
receivers: [ otlp ]
processors: [ memory_limiter, batch ]
exporters: [ otlp ]
metrics:
receivers: [ otlp ]
processors: [ memory_limiter, batch ]
exporters: [ prometheusremotewrite ]
```
Replace:
1. `YOUR_PROMETHEUS_REMOTE_WRITE_URL` with your Prometheus remote write endpoint.
* Example: `https://prometheus.grafana.net/api/prom/push`
2. `YOUR_TEMPO_URL` with your Tempo endpoint.
* Example: `tempo.grafana.net:443`
### 2. Instrument your application
**For direct integration into your Python applications:**
```python theme={null}
import openlit
openlit.init(
otlp_endpoint="YOUR_OTELCOL_URL:4318"
)
```
Replace:
1. `YOUR_OTELCOL_URL:4318` with the HTTP endpoint of your OpenTelemetry Collector.
* Example: `http://127.0.0.1:4318` (for local collector)
* Example: `http://otel-collector.monitoring.svc.cluster.local:4318` (for Kubernetes)
```python theme={null}
import openlit
openlit.init()
```
Set these environment variables:
```shell theme={null}
export OTEL_EXPORTER_OTLP_ENDPOINT="YOUR_OTELCOL_URL:4318"
```
Replace:
1. `YOUR_OTELCOL_URL:4318` with the HTTP endpoint of your OpenTelemetry Collector.
* Example: `http://127.0.0.1:4318` (for local collector)
* Example: `http://otel-collector.monitoring.svc.cluster.local:4318` (for Kubernetes)
Refer to the OpenLIT [Python SDK repository](https://github.com/openlit/openlit/tree/main/sdk/python) for more advanced configurations and use cases.
**For zero-code auto-instrumentation via command line:**
```shell theme={null}
# Using CLI arguments
openlit-instrument \
--otlp-endpoint "YOUR_OTELCOL_URL:4318" \
--service-name "my-ai-service" \
--deployment-environment "production" \
python app.py
```
Replace:
1. `YOUR_OTELCOL_URL:4318` with the HTTP endpoint of your OpenTelemetry Collector.
* Example: `http://127.0.0.1:4318` (for local collector)
* Example: `http://otel-collector.monitoring.svc.cluster.local:4318` (for Kubernetes)
```shell theme={null}
# Set environment variables (takes precedence over CLI args)
export OTEL_EXPORTER_OTLP_ENDPOINT="YOUR_OTELCOL_URL:4318"
export OTEL_SERVICE_NAME="my-ai-service"
export OTEL_DEPLOYMENT_ENVIRONMENT="production"
# Run your application
openlit-instrument python app.py
```
Replace:
1. `YOUR_OTELCOL_URL:4318` with the HTTP endpoint of your OpenTelemetry Collector.
* Example: `http://127.0.0.1:4318` (for local collector)
* Example: `http://otel-collector.monitoring.svc.cluster.local:4318` (for Kubernetes)
Refer to the OpenLIT [Python SDK repository](https://github.com/openlit/openlit/tree/main/sdk/python) for more advanced configurations and use cases.
### 3. Import the pre-built Dashboard
1. **Log into your Grafana Instance**. To install Grafana, refer to the [Official documentation](https://grafana.com/docs/grafana/latest/#installing-grafana).
2. **Add Data Sources**: Make sure Prometheus and Tempo are added as data sources in Grafana. To add a new data source, follow the steps in the [Official documentation](https://grafana.com/docs/grafana/latest/datasources/#add-a-data-source).
3. Click **Dashboards** in the primary menu.
4. Click **New** and select **Import** in the drop-down menu.
5. Copy the dashboard JSONs provided in the [offical Grafana AI Observability repository](https://github.com/grafana/grafana-aio11y-app/tree/main/mixin/genai-mixin/dashboards)
6. Paste the dashboard JSONs one by one directly into the text area.
7. Click **Import**.
8. Save the dashboard.